
#Quickstart guide
Here is a quick summary of steps to help you integrate with Setu’s AA. Before you start, there are some key terms that will be referred to periodically in the documentation—
- AA or Account Aggregator—An entity licensed to show financial data requests to a customer and manage consent approvals/rejections. Setu partners with licensed AAs and offers pre-built, themeable screens to present data requests to your customers.
- FI—Financial information, the financial data of a user that is being requested for.
- FIU or Financial Information User—The entity requesting for data from its customers, i.e., you.
- FIP or Financial Information Provider—The entity that you request the financial data from, like a bank or an insurance provider.
- FI types / data sources—The types of financial data you can request for, from your customers. Setu AA provides mock data for all 23 FI data types enabled by AA. You can check them out here.
- Consent Object—This is core of the AA framework, wherein you (the FIU) request for consent from your customer to use one or more FI types. As part of the consent object, you would need to provide details like the reason for data request, how many times the data would be fetched etc. You can read more on the details that are sent as part of consent request here.
Try out our sample app built using Setu AA sandbox here
#Integrating FIU APIs on Sandbox
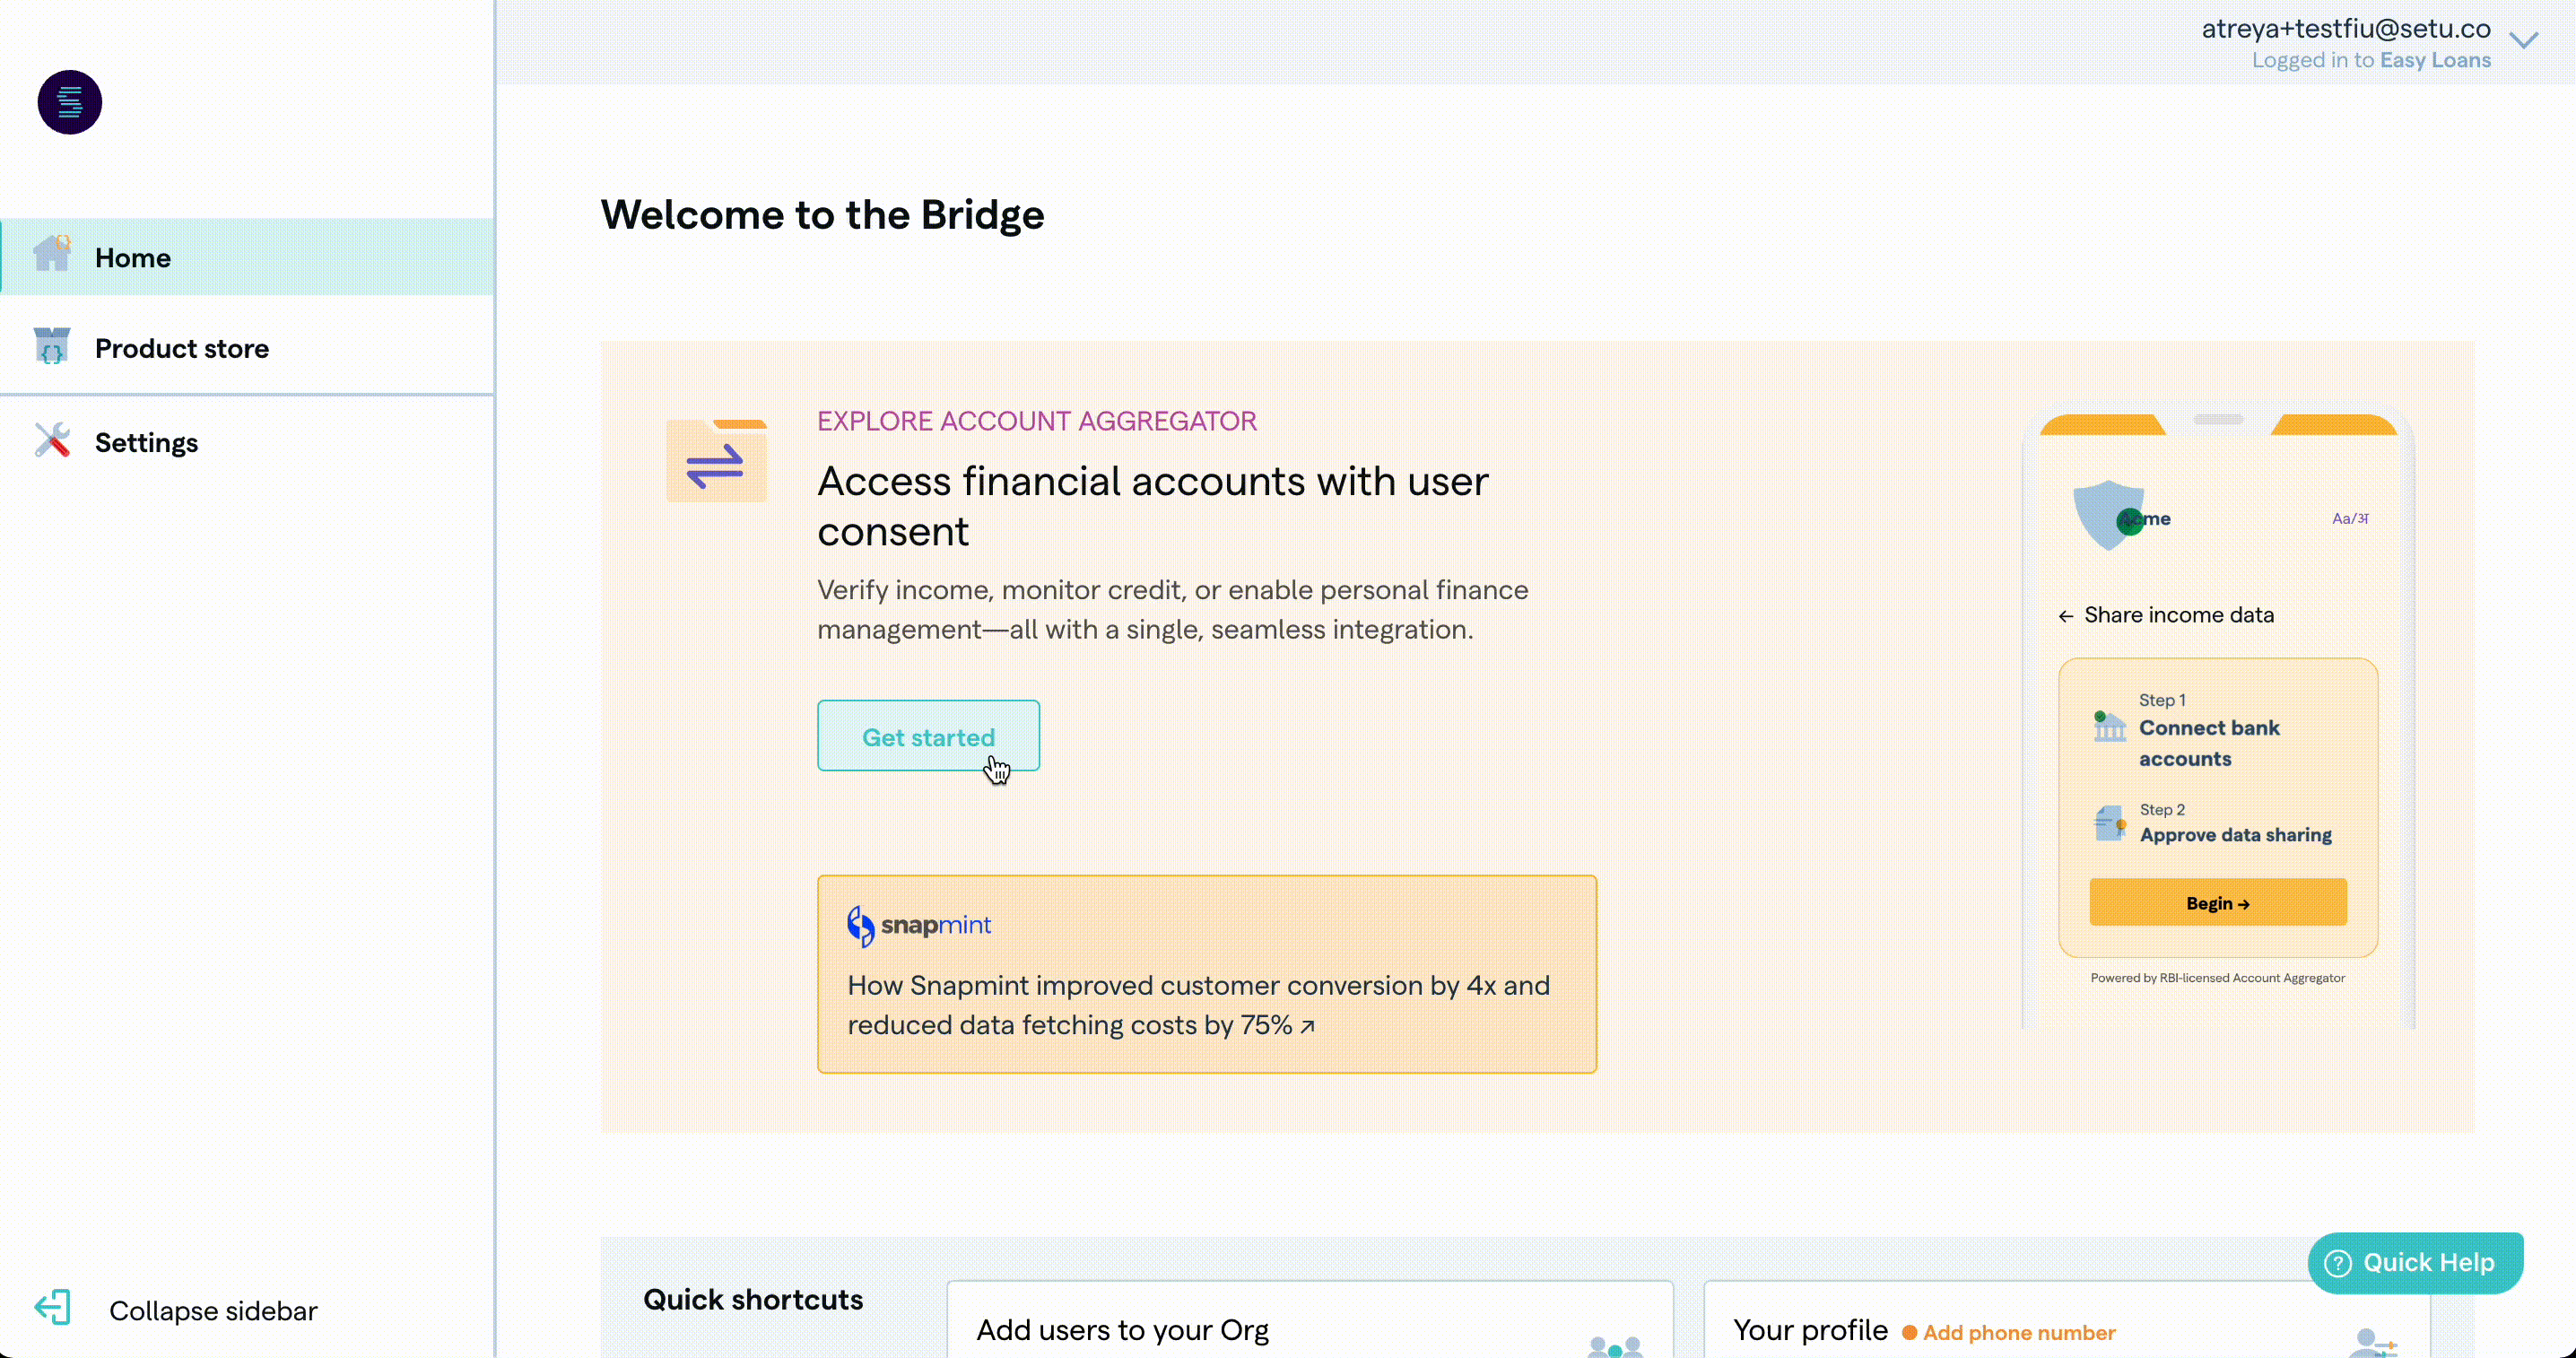
Create your product on the Bridge
Register on The Bridge, if you haven’t already
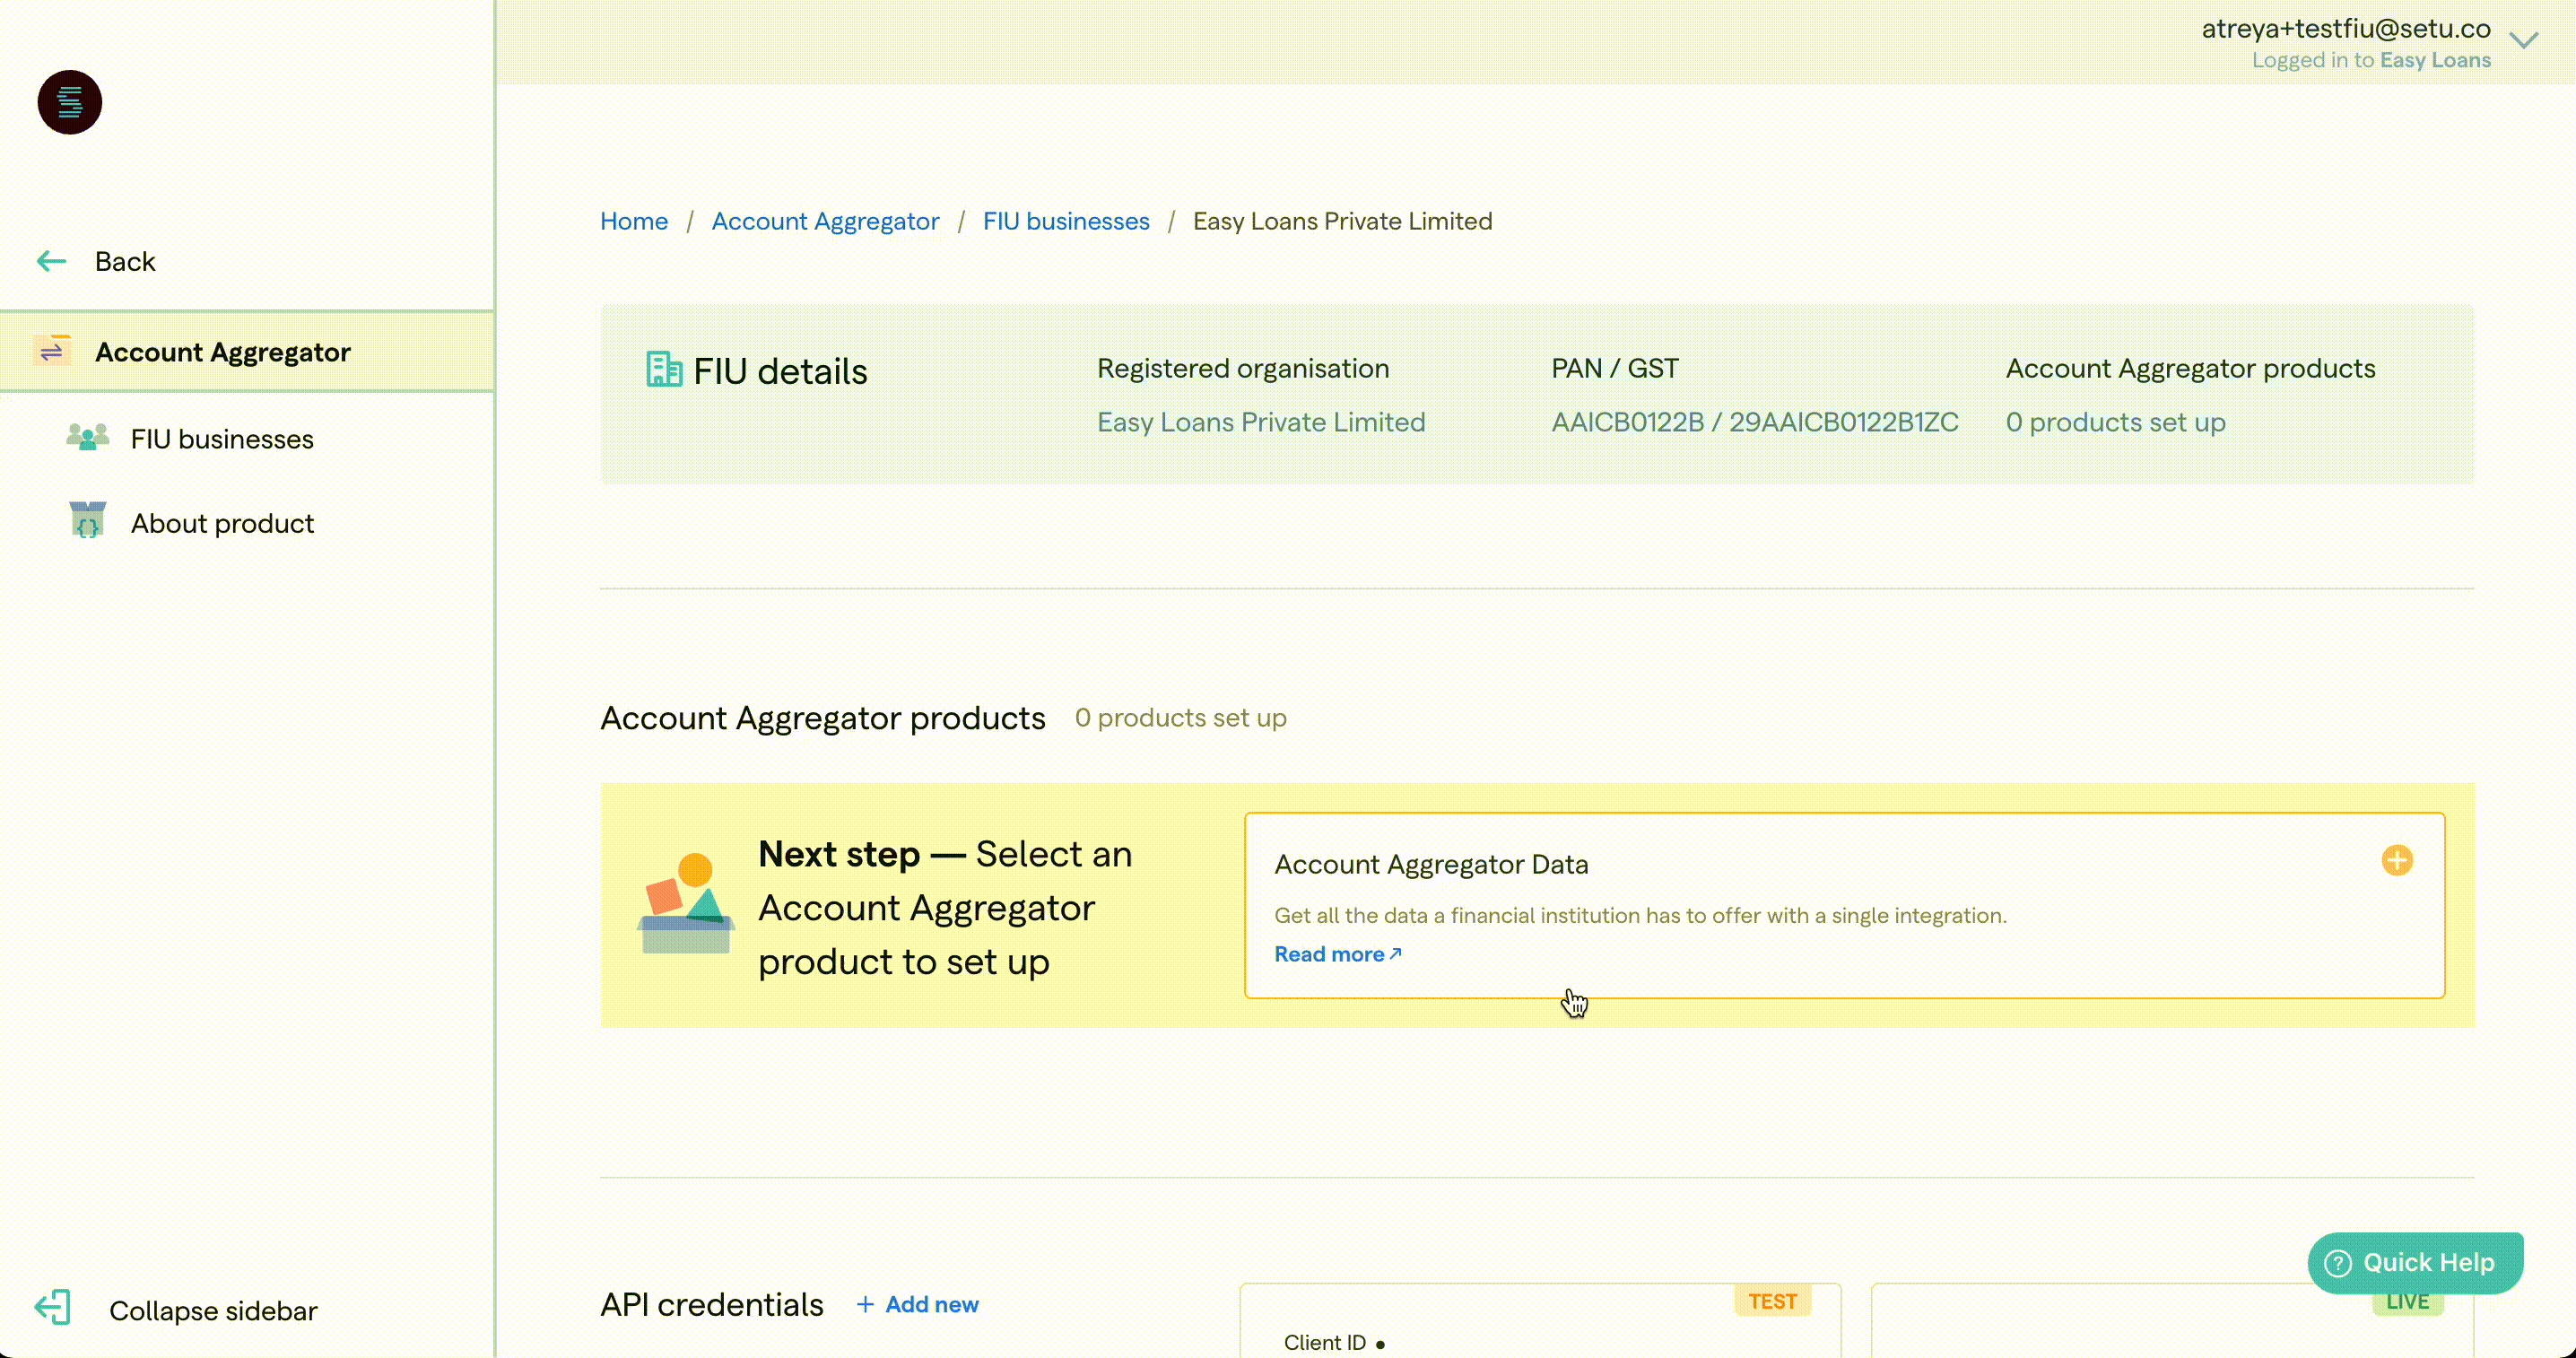
Set up an FIU by providing basic details
Create Account Aggreagator Data product
Add configuration details
Setu provides a set of pre-built screens that can be used by your customers to review consents. These screens will be used by your customer to register/login to the AA, review the consent, link their accounts and approve/reject the consent.
You can set up a range of parameters that help you create a customised UX for your customers—
- Consent object details
- Your logo, FIU name, brand colours and fonts that should be used on consent approval UI
- Account discovery methods
- Account selection conditions and help text for your customers
You can also enable developer specific features to reduce your integration efforts—
- Partial fetch
- Auto-Fetch data

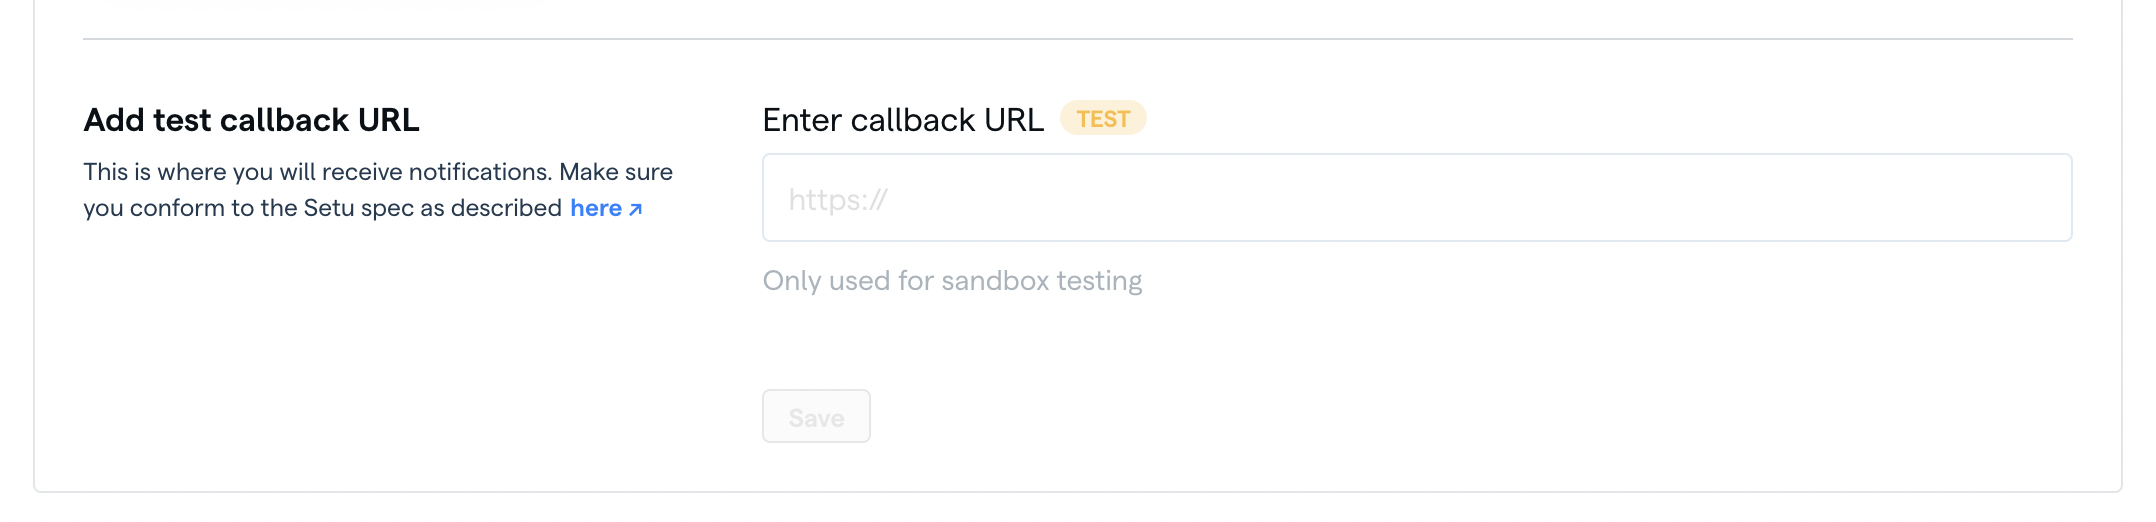
Provide your endpoint to receive notifications
You will need to specify notification endpoints on the Bridge, the URL to which Setu will send notifications.
To get started quickly, you can setup a mock API endpoint using Beeceptor. Once configured on Bridge, Setu will send notifications to that URL. This will help you understand the notification flow before you start to implement it on your server.
You will be notified for two types of events—
- Actions by the user, such as accepting or rejecting a consent request
- Updates from the FIP, such as when the requested data is ready to be fetched
You can read about notifications in detail here.
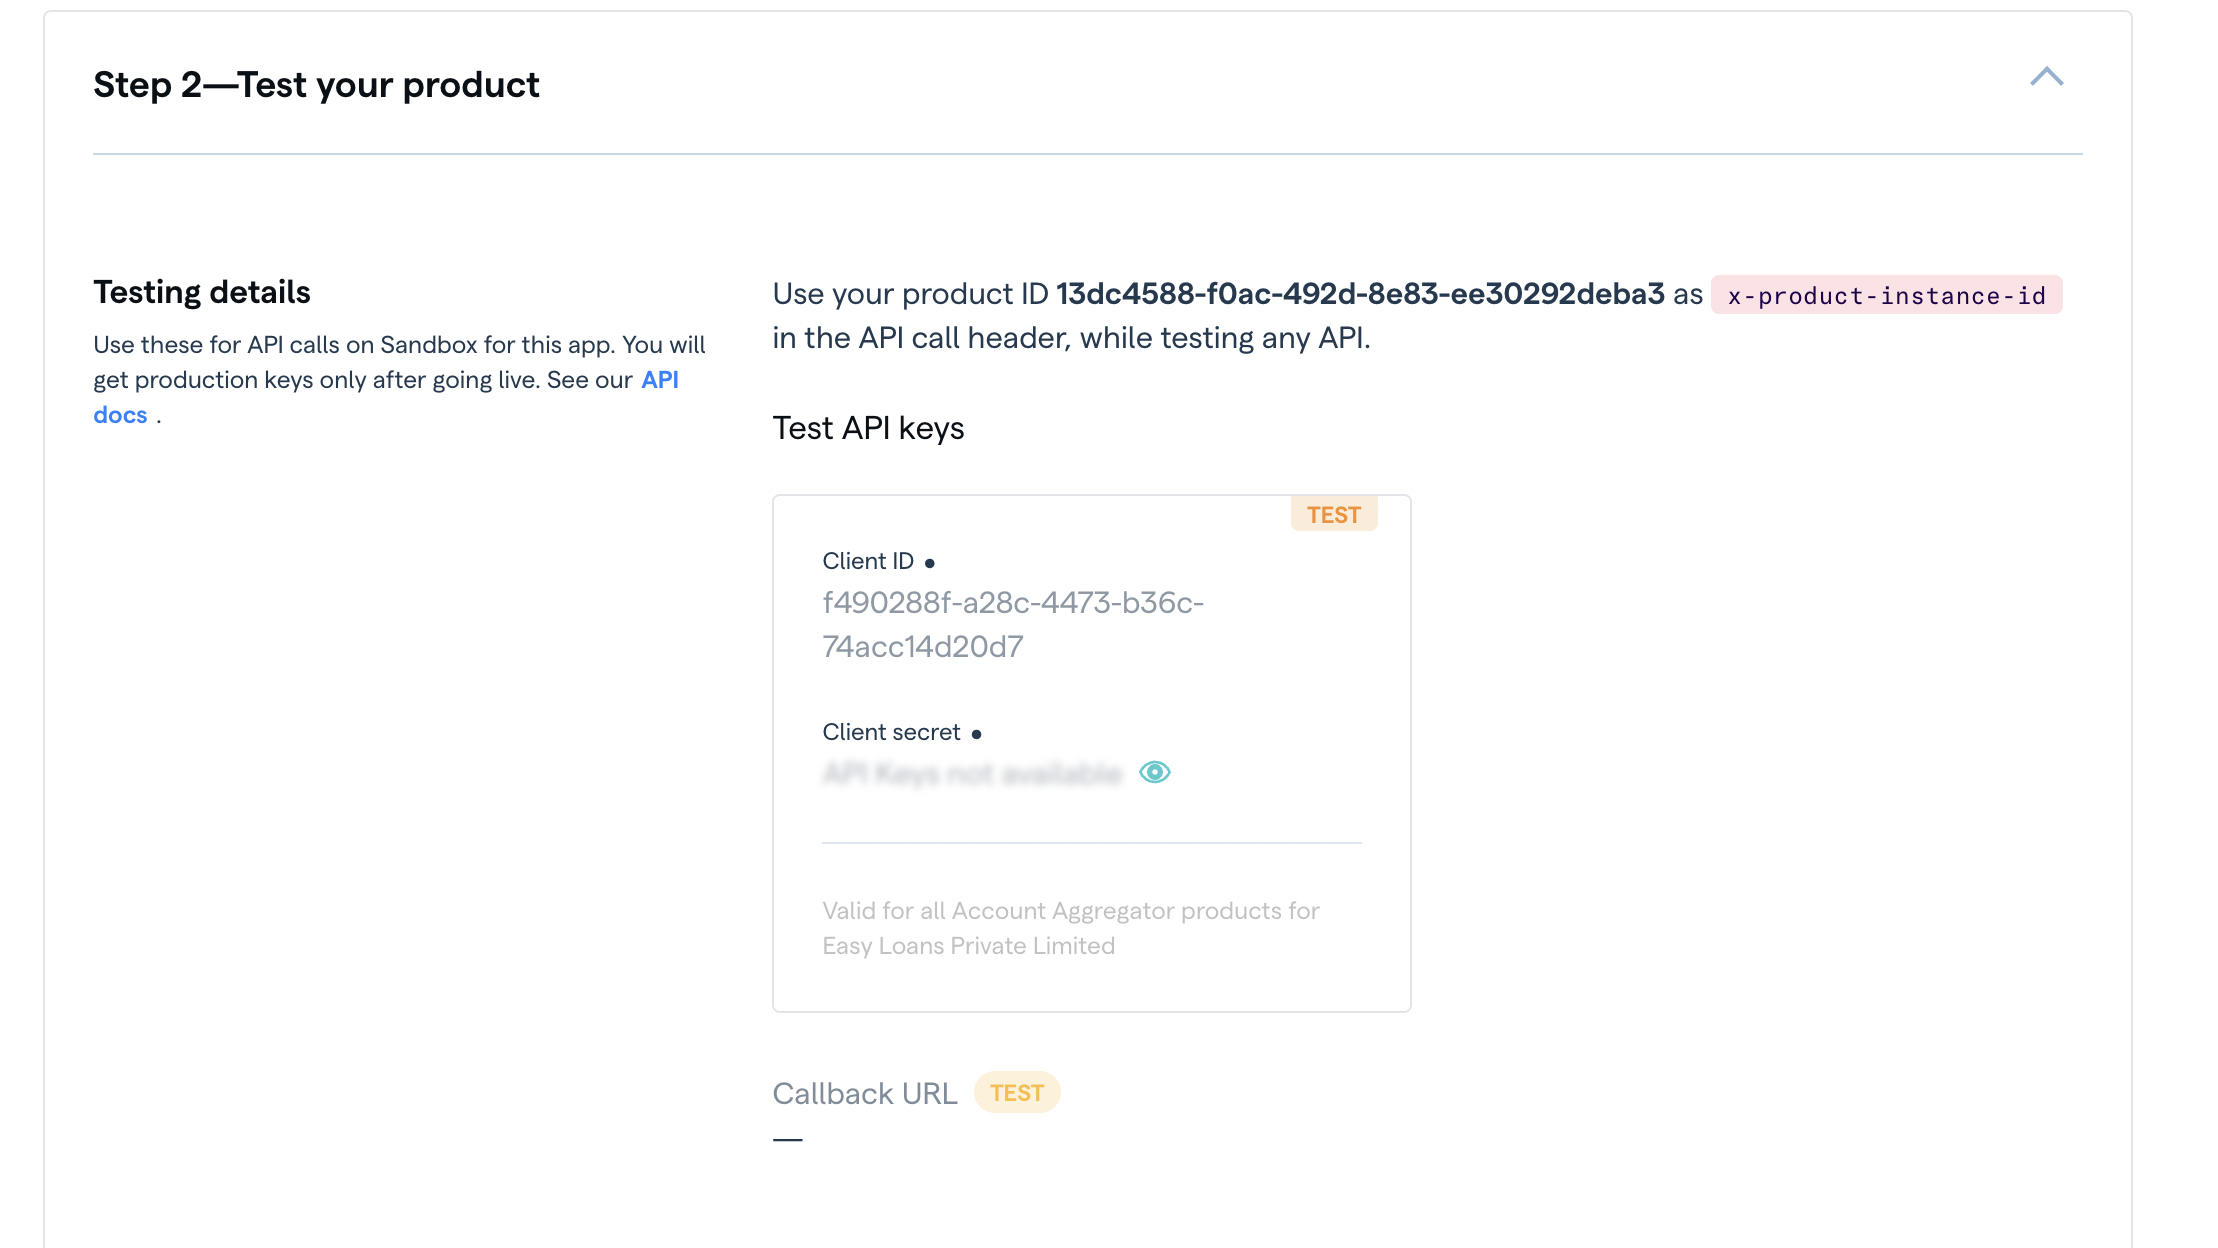
Test your product
Once all the above steps are complete, you will find x-product-instance-id, x-client_id and x-client-secret in Step 2. You're now ready to make API calls using Postman on sandbox or integrate with sandbox FIU APIs.
#Moving to production
#Submit your product
After you have finished testing on sandbox, you can move to production. Except callback URL, all values filled in Step 1 of your product configuration will also apply for production environment.
- Fill the production callback URL in Step 3
- Complete your KYC in Step 4
- Submit your product for review in Step 5
#Post submission
Setu will start the infrastructure setup for your production FIU app. This involves two processes—
- Your FIU onboarding process with Sahamati. More details can be found in our go live docs.
- We will deploy the FIU service based on your configuration on Setu’s AWS with a sub-domain.
Once the infrastructure setup is done, your production credentials
x-client_idandx-client-secretwill be available under API credentials section of the FIU on the Bridge. Thex-product-instance-idwill be theProduct IDof the product you have set up.
#Ready to go!
Once you have these details, you can now access your users' financial data with their consent.
#Test on Postman or integrate APIs
If you are just starting integration, we recommend that you familiarise yourself with all FIU APIs through Postman. If you have already finished this, you can integrate with FIU APIs directly.
ON POSTMAN
Import Postman collection ->FOR API INTEGRATION
Start API integration ->Was this page helpful?