
#Go live
Test your integration on the Bridge Sandbox environment, to make sure everything is working as intended. Once that is done successfully, you can go live and accept payments from actual customers.
In case you face an issue with any of the following steps, raise a support ticket ↗ and our team will reach out to you.
#Step 1 — Create configuration on Production
First, we need to be in the Production environment. Most functionality works the same way in Production as it does in Sandbox. Read more about environments.
If your Sandbox configuration is complete and you've successfully done a test transaction, click on the Copy to Production tab to proceed. Select a provider you want to proceed with, and the same config details will be copied to Production.
You can also create a fresh Production configuration, if the details are entirely different. Hit the environment toggle at the top of the home page to switch to Production. If it's the first time you're viewing Production, the Configured products section would be empty.
Head to the Products page, select one the required provider for Collect BBPS section and begin configuration.
#Step 2 — Add configuration details
Configuring a biller on Production is the exact same as on Sandbox. You can refer to the CSV or API integration quickstart for a detailed step-by-step guide.
#Step 3 — Add KYC details
This is what sets the Production apart from the Sandbox. Because Production handles actual money movement, additonal biller-level KYC needs to be completed in order to start doing live transactions.
Click on the “KYC” tab to see the list of details you need to add.
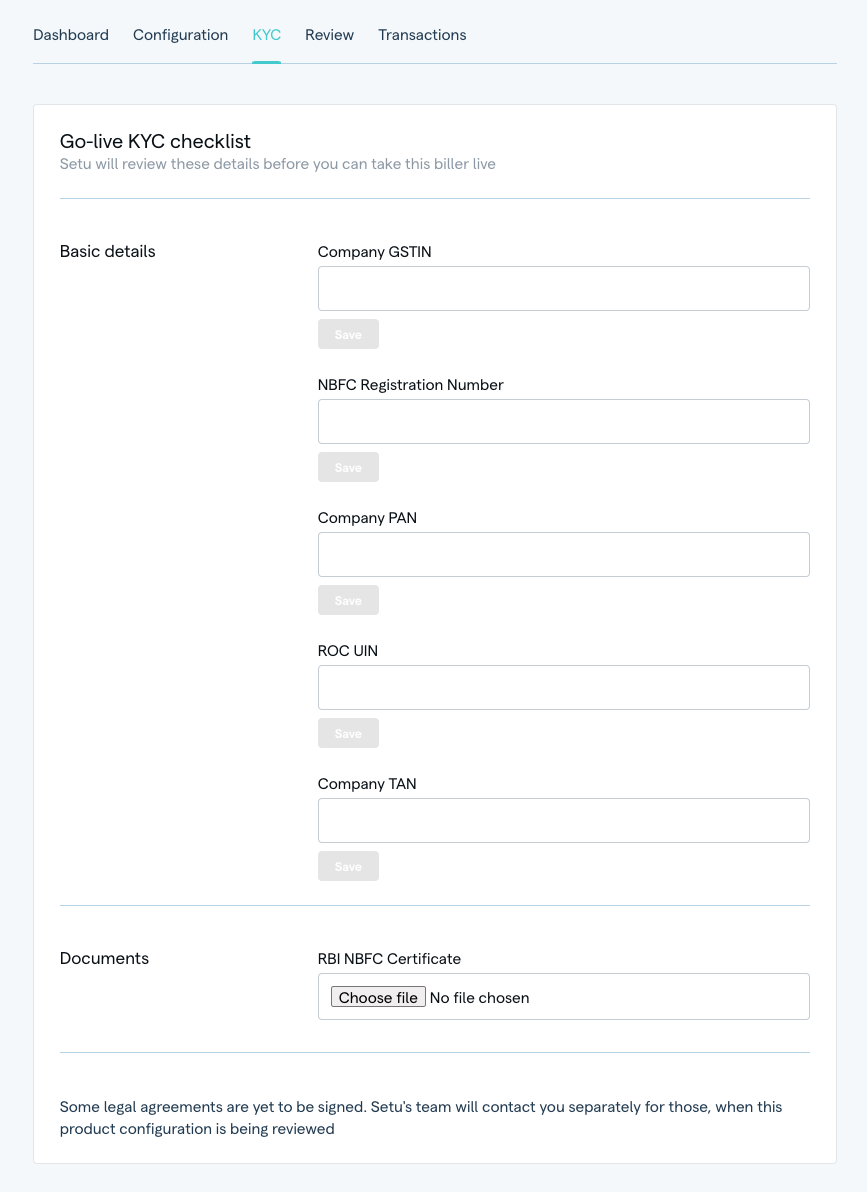
Our team may also reach out separately to collect a few more details offline, depending on your business category.
#Step 4 — Submit config for review
For Production, your configuration and the KYC details will be verified by the Setu team before you can go live.
Once the config is set up as required, and the KYC details have been uploaded, click on the “Review” tab and the “Submit for review” button.
Setu takes about 3–4 business days to verify this information. Once that is done, you will be notified by our team, and the “Review” tab will now display “Your latest configuration is live in production”.
Keep in mind that this means that your biller is available only on the Setu platform. Setu now sends this information to the BBPS system, where billers are on-boarded in batches each week.
This can take 1–2 weeks, depending on NPCI and the bank. Setu has no control over this process. Once the on-boarding onto BBPS is successful, you can check your availability as a biller on BBPS-supported apps, such as BHIM, GPay, PhonePe etc.
Your customers can now pull their bills from your system via BBPS-supported apps, and start making payments. You will now start seeing these transactions on the Reports page on the Bridge.
#Reports for live transactions and settlements
You can access the transaction list from the Reports page from the link on the left nav bar, or the “Reports” tab inside the biller dashboard.
Read more about reports ↗.
#Editing your config after going live
Should you feel the need to make changes after going live with a biller, you can modify the configuration and “Submit for review” again. The process remains the same—on submission, you see a confirmation—“You have submitted for review”. The modified details will also be shown on the “Review” tab.
After submission is done, you can expect your configuration to be reviewed by a Setu admin within 2–4 days.
Any details being changed, aside from baseURL, callbackURL or settlement account(s) will require your new config to be shared with NPCI. The waiting period for new details to be reflected on any payer app may be 1–2 weeks.
Until the new details are approved or rejected, your older configuration will continue to work, and your customers can continue to make payments.
Was this page helpful?