
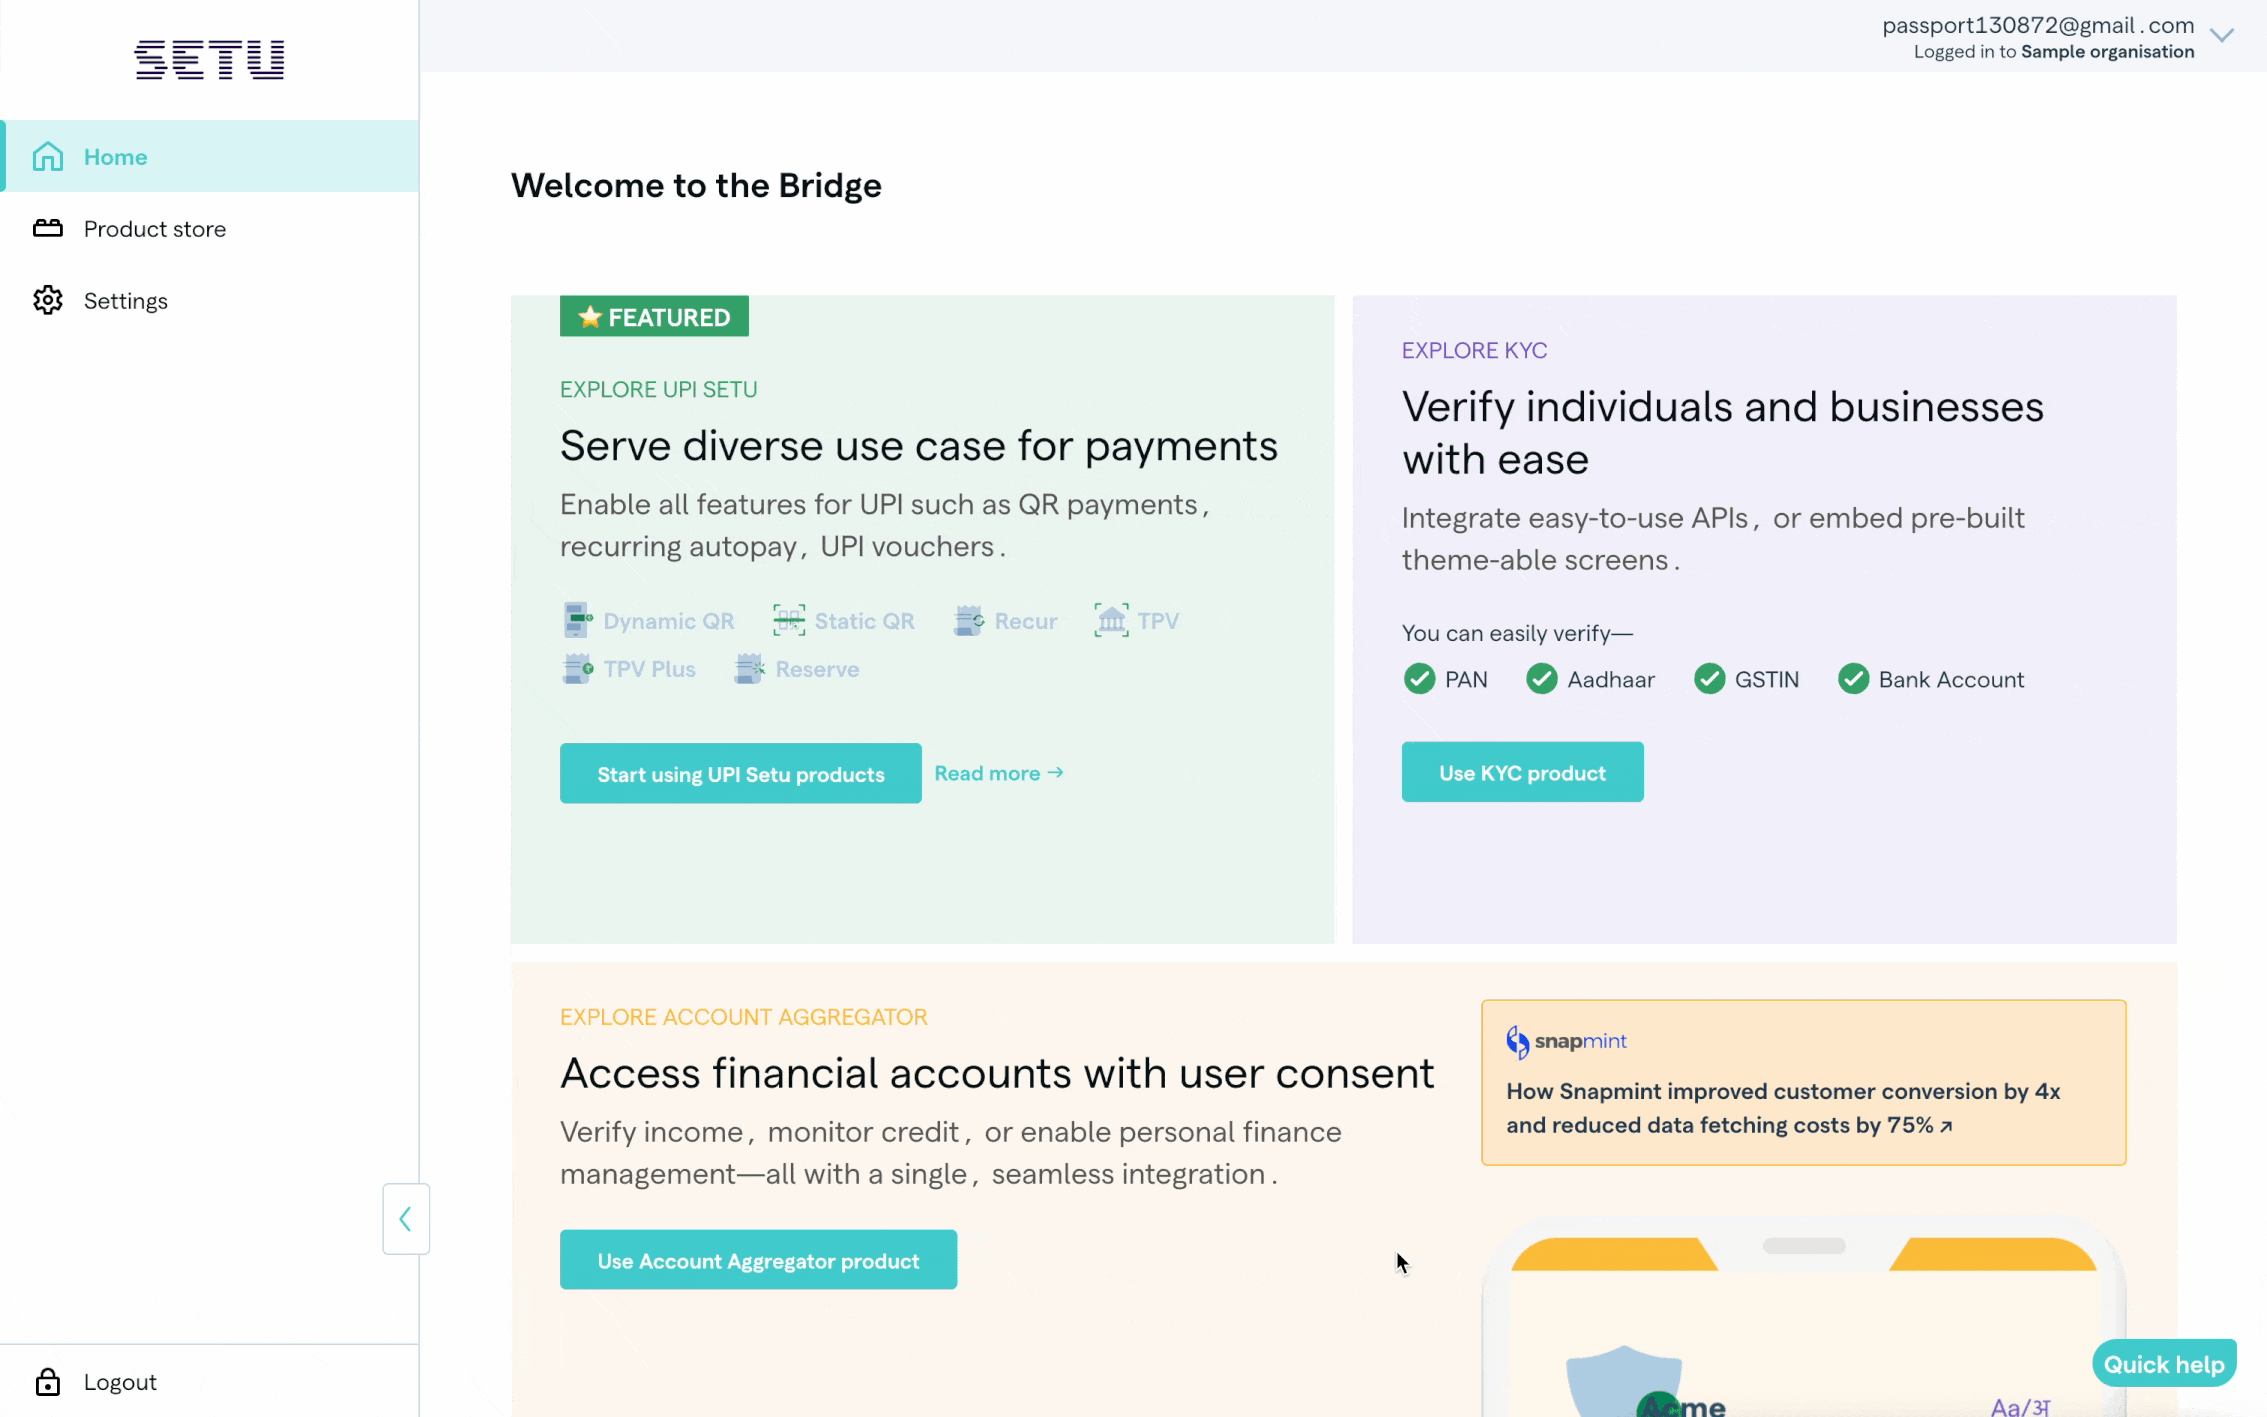
#Settings
#What settings are available?
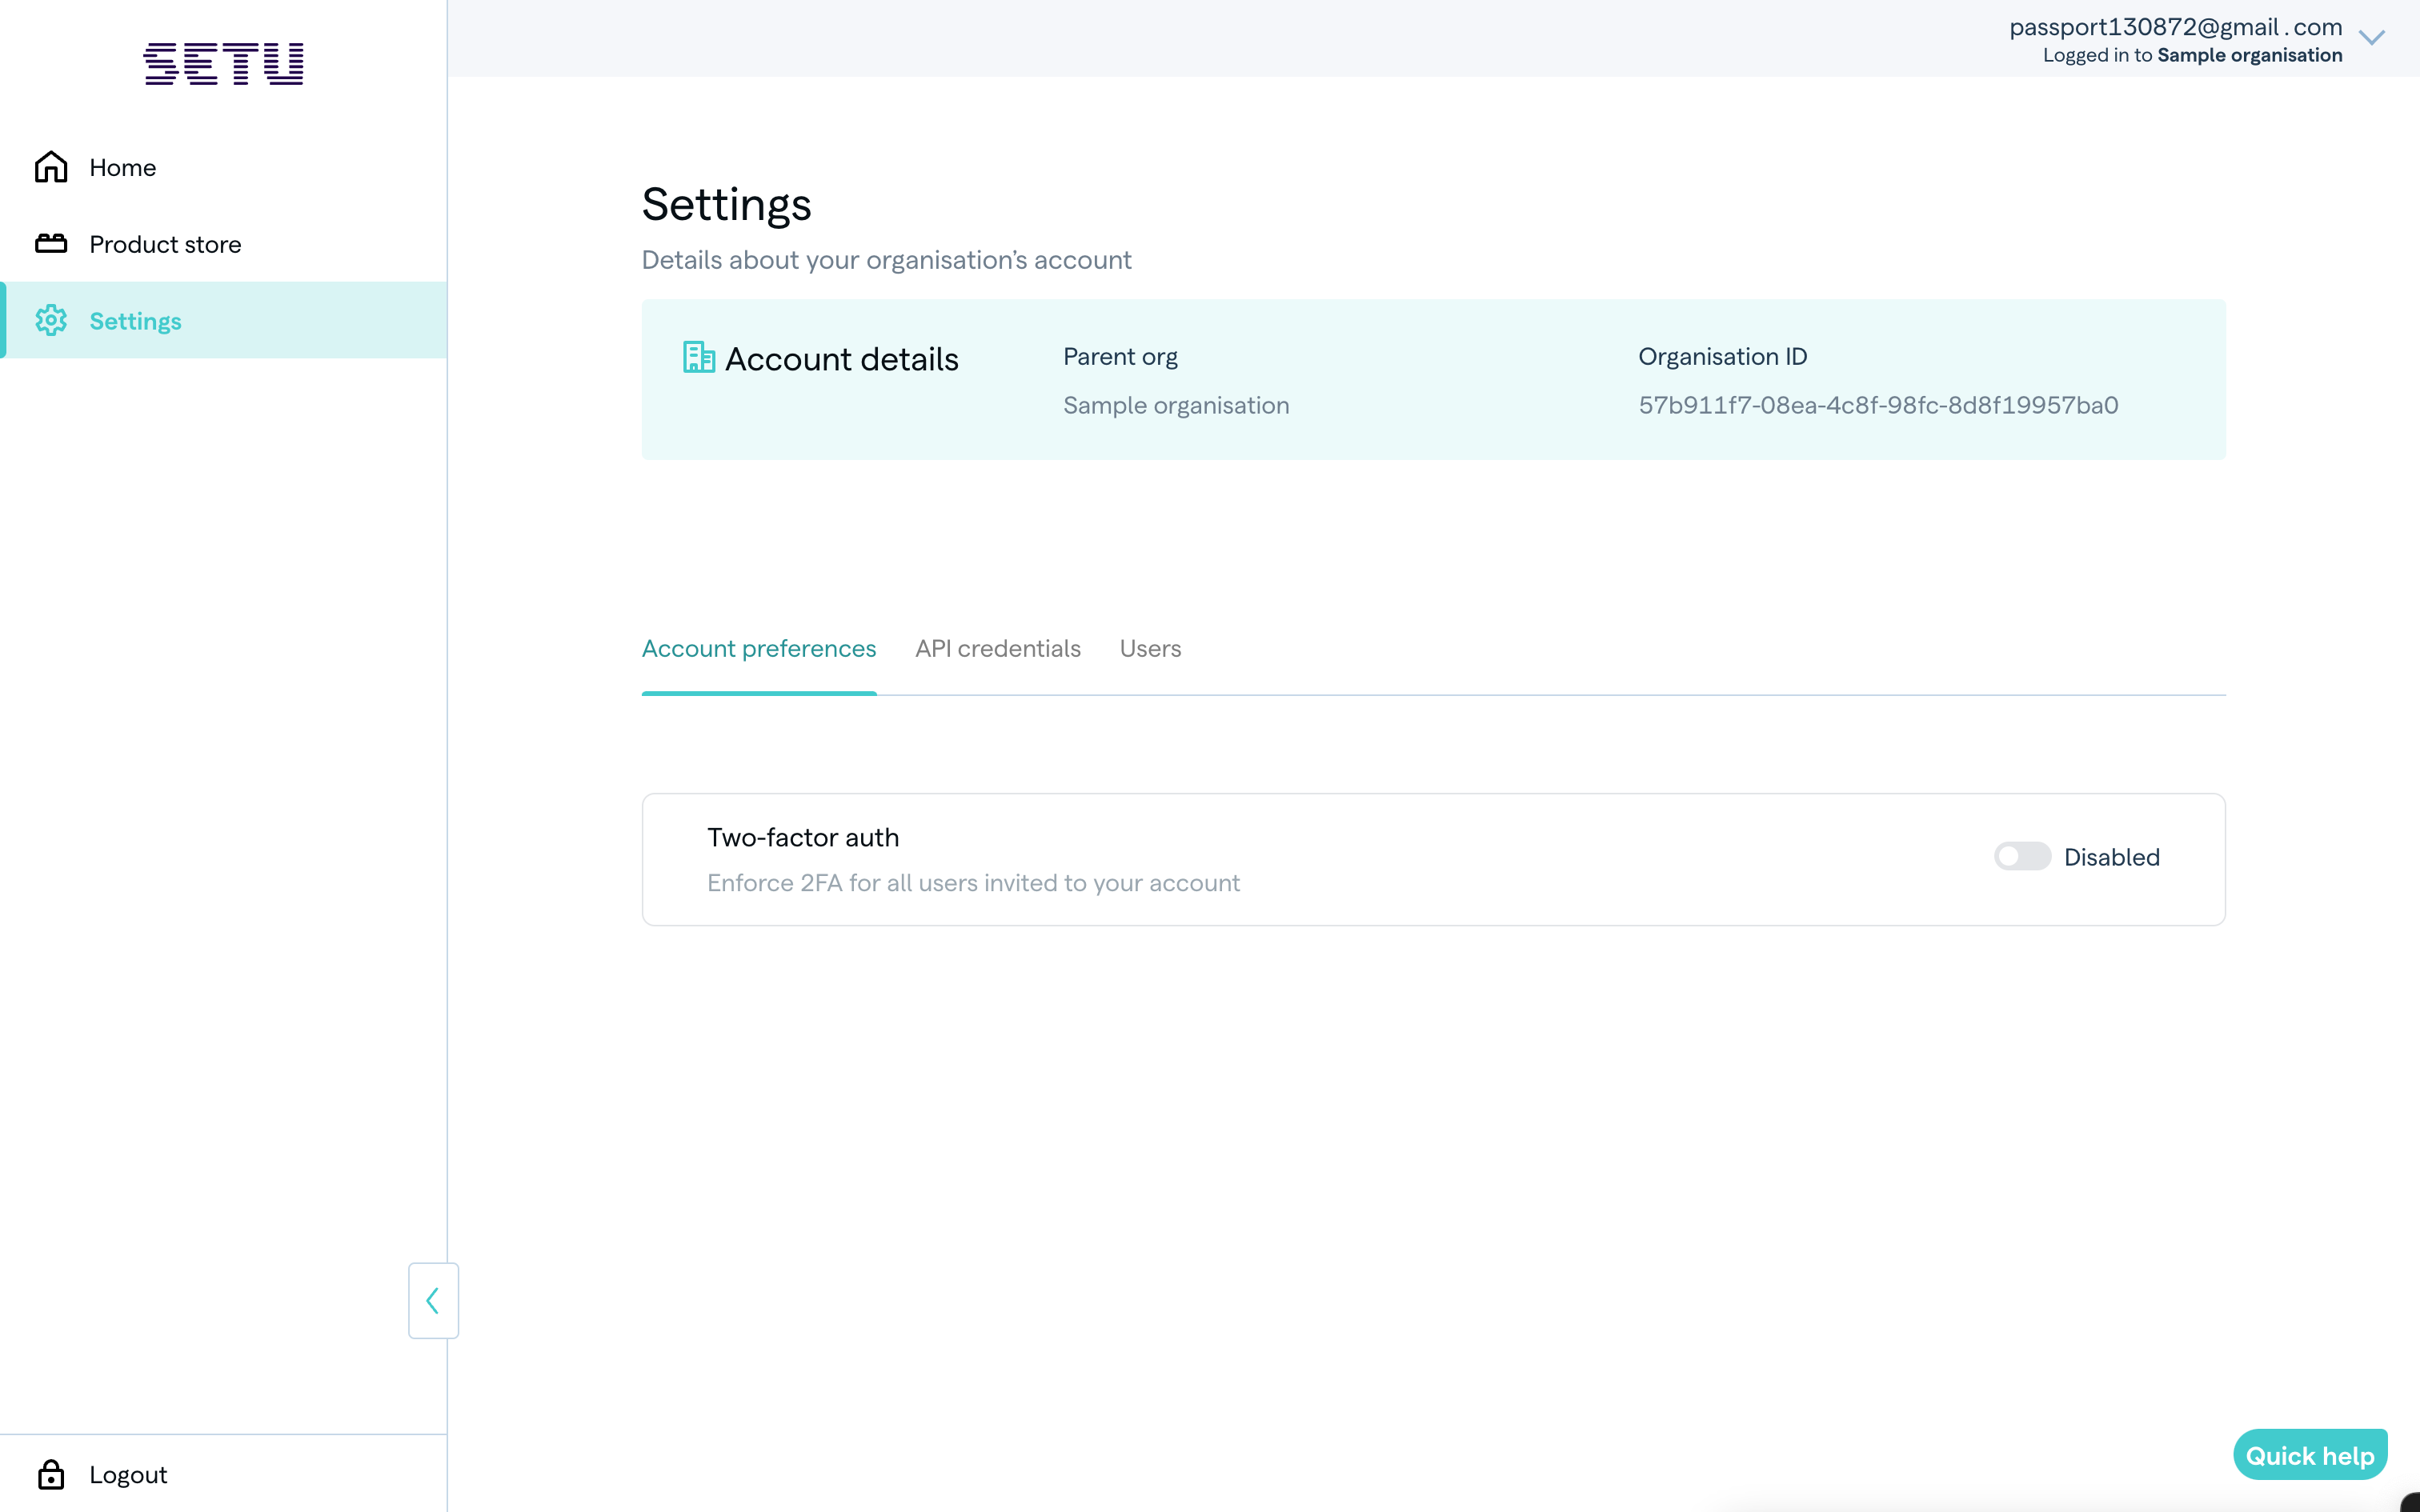
You can customise details provided for the organisation, and also check details attached to the organisation. There are 3 primary sections under Settings:
- Account prefreces
- API credentials
- Users
Settings > User management
Check for users who can access the account, the roles assigned to each user, their email ID, phone number, access scope, contact type, and status.
Invite new users
- Click "Invite user".
- Provide user details and access criteria.
- Send email to invite user, the user can click the invite link and verify their email ID.
Update a user's role or access
- Select the parent or sub-organisation account for which you want to find users. Enter an email ID to search for a specific user.
- Click row with user details.
- Click on “Edit”.
- If you want to disable user, click on the deactivate or activate toggle.
- Make changes and click “Save”. This update is also sent over email to the user.
Disable a user's access
- Search for user, with complete e-mail ID.
- Click on the toggle for “Active user” and confirm that you want to disable access.
Settings > API credentials
API credentials authenticate API requests made to Setu. Test and live credentials are separate to ensure you are invoiced only for transactions done with live credentials. Production credentials are generated only once at least one product goes live under one of your child accounts.
Test credentials are valid for all instance configured under this organisation. Use the product instance ID in combination with the Test credentials to make requests to Setu sandbox.
Live credentials work only for product instance IDs with “Live config” or “Live config edited” or “Live config edits submitted” statuses.
- Live instances have already been reviewed by Setu admins, and their product instance ID is recognised by production systems.
- For instances with the “Submitted with edits” status, the last approved details in production remain active until the latest submission is approved.
Also, don’t worry about “accidentally” using live credentials for an instance ID that is not yet live—you simply cannot use live credentials for the instance ID, before it acquires the “Live config” status.

Settings > Account preferences
Set two-factor-authentication for better security, so that every user who logs into your parent account has to additionally provide an OTP sent to their email, along with their password for Bridge.
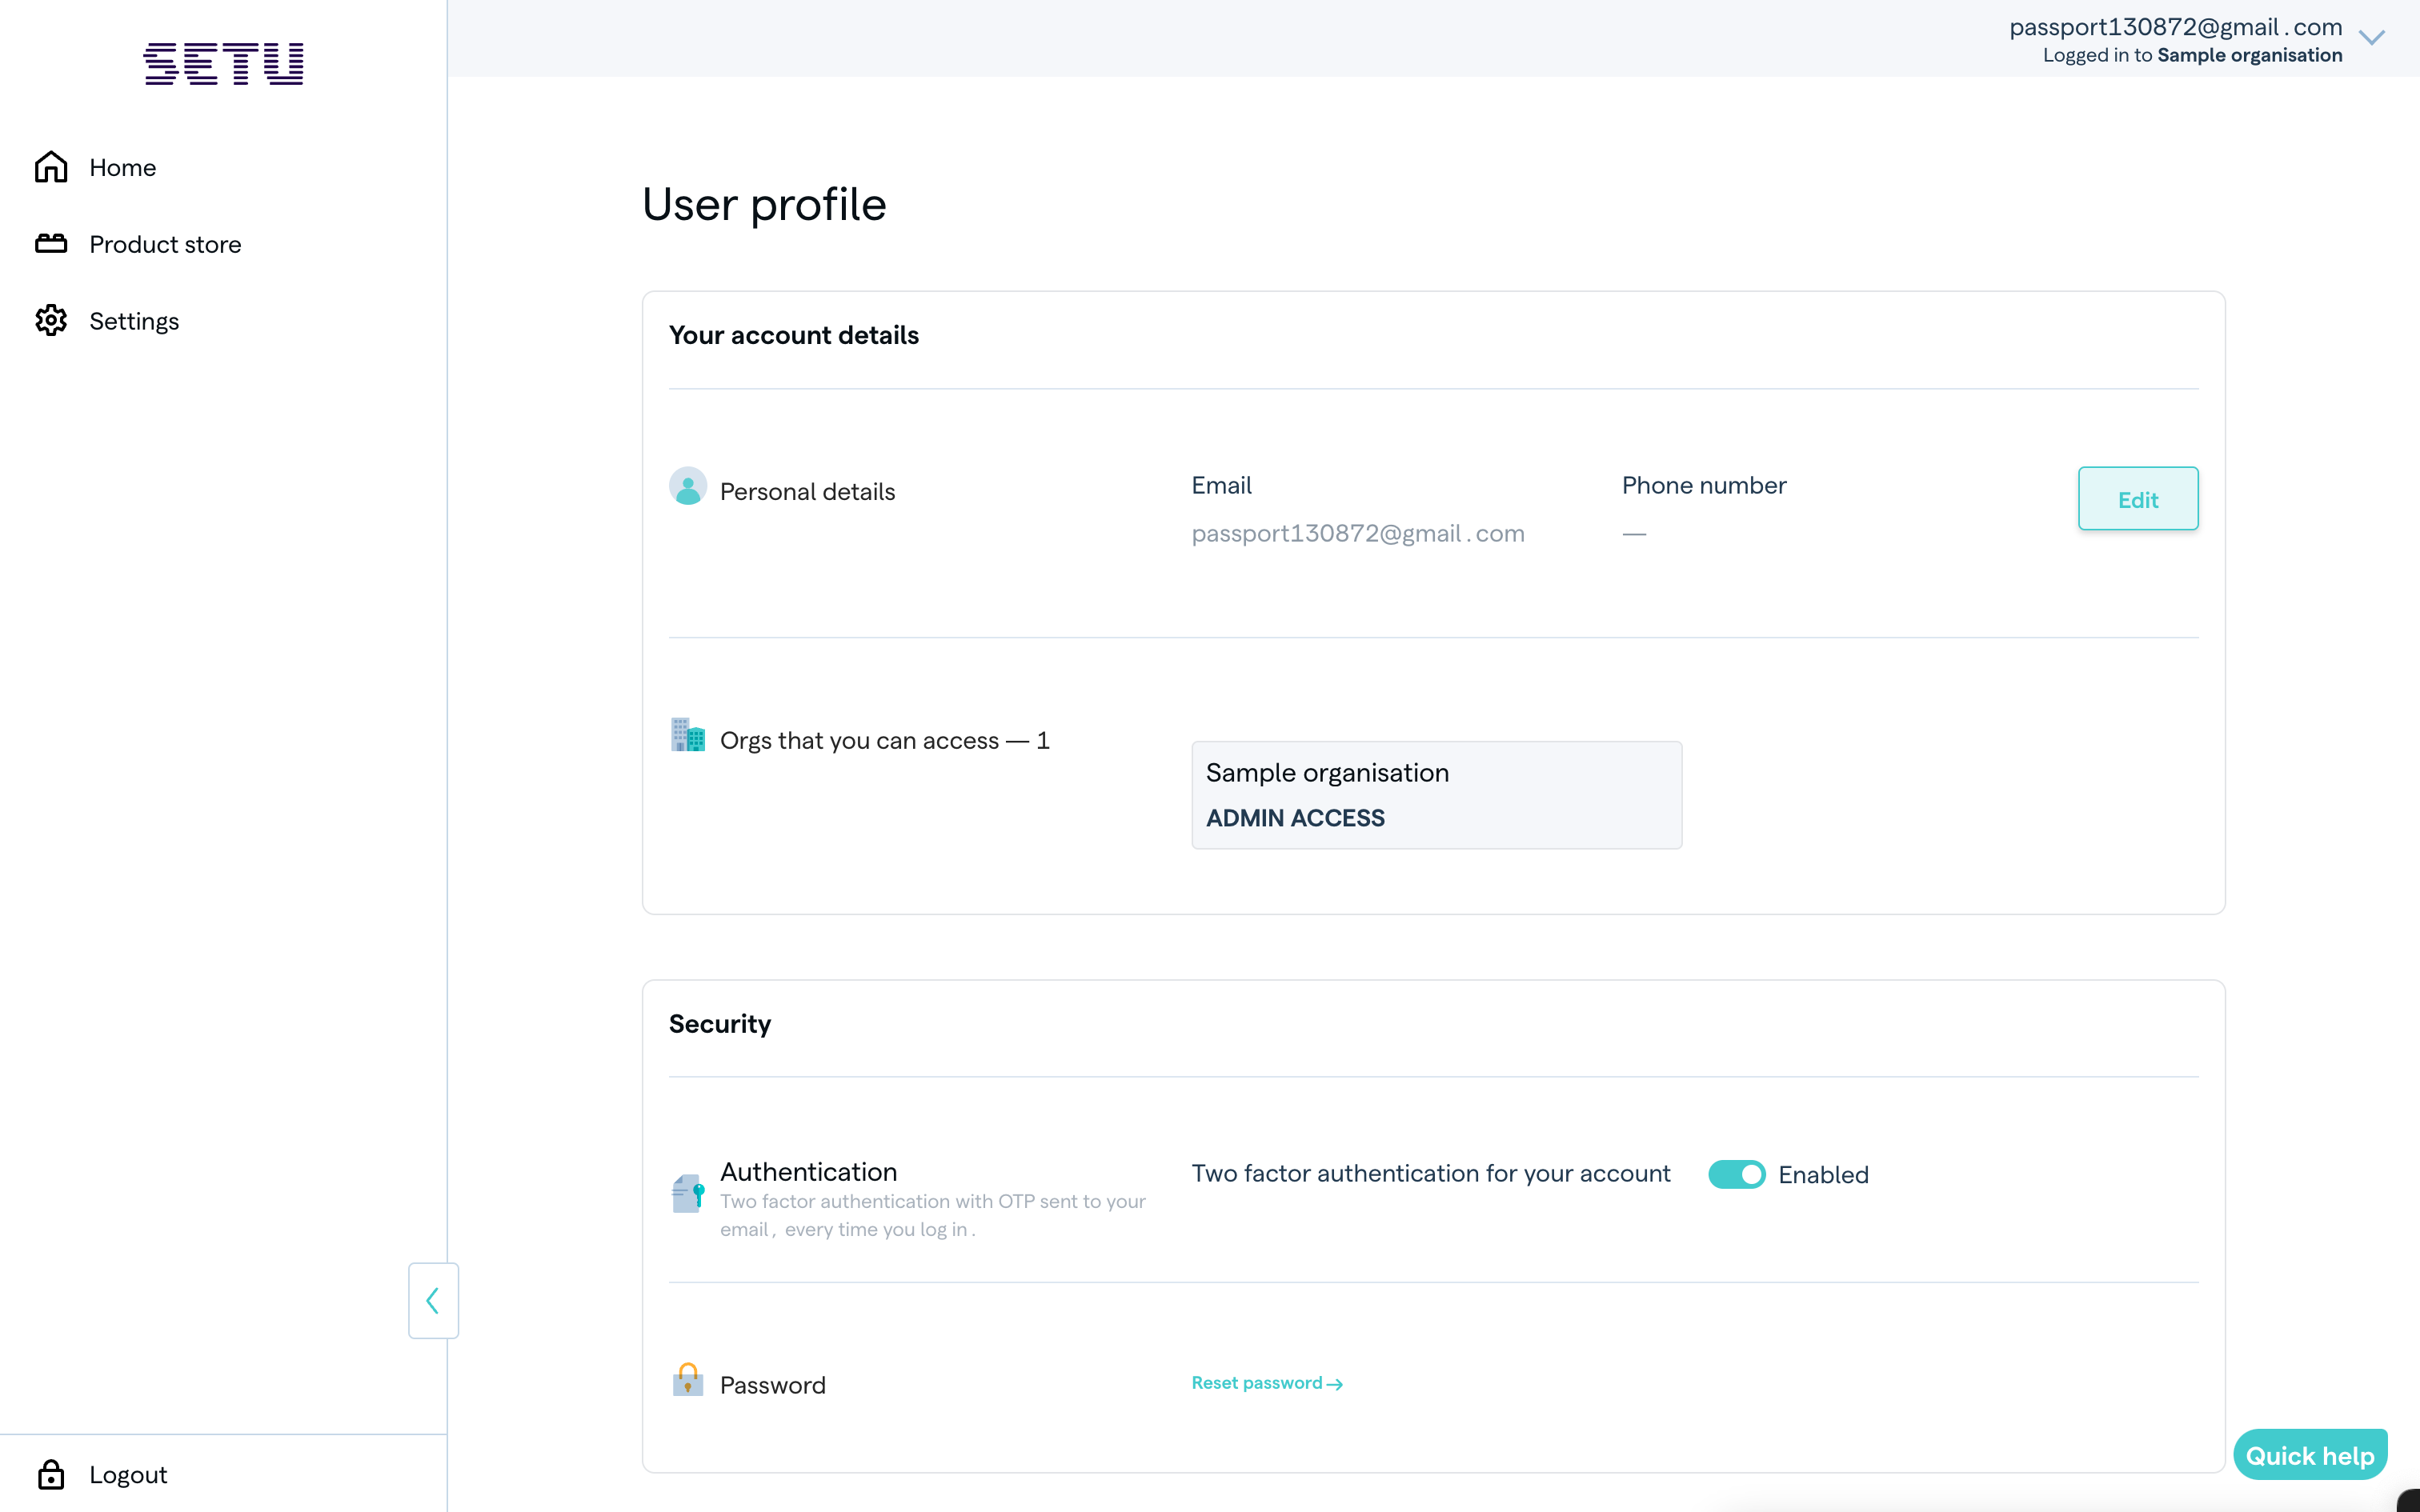
Settings > Your profile
Your user profile contains account details—like e-mail, phone number—and access details to one or more Bridge accounts.
#How can you access user profile?
You can check all the details attached to your personal profile.
Edit personal details: You can update your phone number, but the verified email ID provided initially cannot be changed.
Organisation listing: View the list of organisations where you are invited.
Security preferences: Enable or disable two-factor authentication (2FA) and change your password.
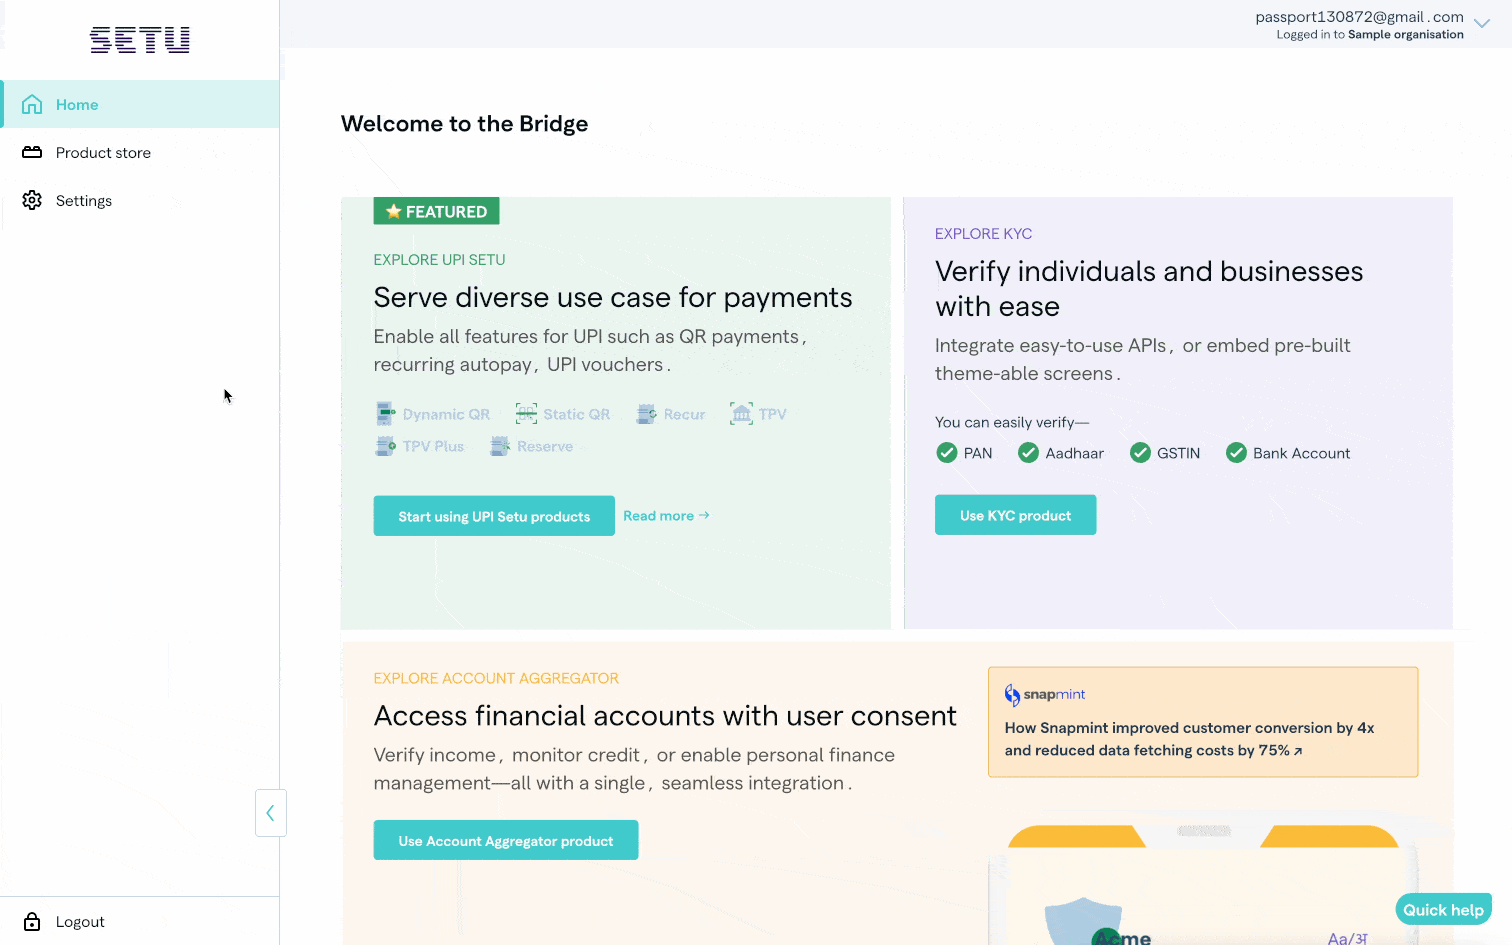
#When do I have access to multiple organisations, and how do I access it?
You can have access to multiple Bridge parent org accounts, if you’re invited as a user to them or manage them as an aggregator. You can either have an Admin or a Reporter role for these accounts, and access either all sub-org accounts or a subset of them.
To switch between organisations you are part of, follow these steps:
Click on your name: Open the dropdown menu.
Check the list of organisations: The currently active organisation is marked with a green tick. You can view the list of all other organisations.
Select or search for another organisation: Click on the organisation you want to switch to. In case you have access to more than 3 accounts, a search bar will be visible and you can search by typing in the name (at least 3 characters) or ID of the Bridge account. You can click the organisation and that account’s details will appear in Bridge.

Was this page helpful?