
#Embed Setu screens
Setu’s screens provide a pre-built UI for the consent manager application, where your customer can approve or reject consent requests.
You can theme these screens according to your brand colors and logo. Once you make the Create Consent request, a url is returned which can easily be embedded as a webview or be used to redirect from a website. The URL is of the form:
https://< fiu-base-url >/consents/webview/< consent-request-id >
- < fiu-base-url > — This is the base URL of the FIU service provided by Setu.
- < consent-request-id > — This is the request ID of the consent generated returned after the create consent request.
The create consent request also takes a redirectUrl. Once the approval/rejection flow has been completed by the user, Setu redirects back to the specified redirectUrl with some query params:
- success — This is a boolean representing whether the approval was successful or not. (
truefor approved andfalsefor rejection) - id — Request ID of the consent
- errorcode — This is the error code representing the reason for failure. Sent only if
success = false.
The redirect URL can be configured separately for each consent request, and would also send back any query params that you already have in the URL.
Please find the below integration steps to embed Setu’s consent manager screens into your application.
#Website
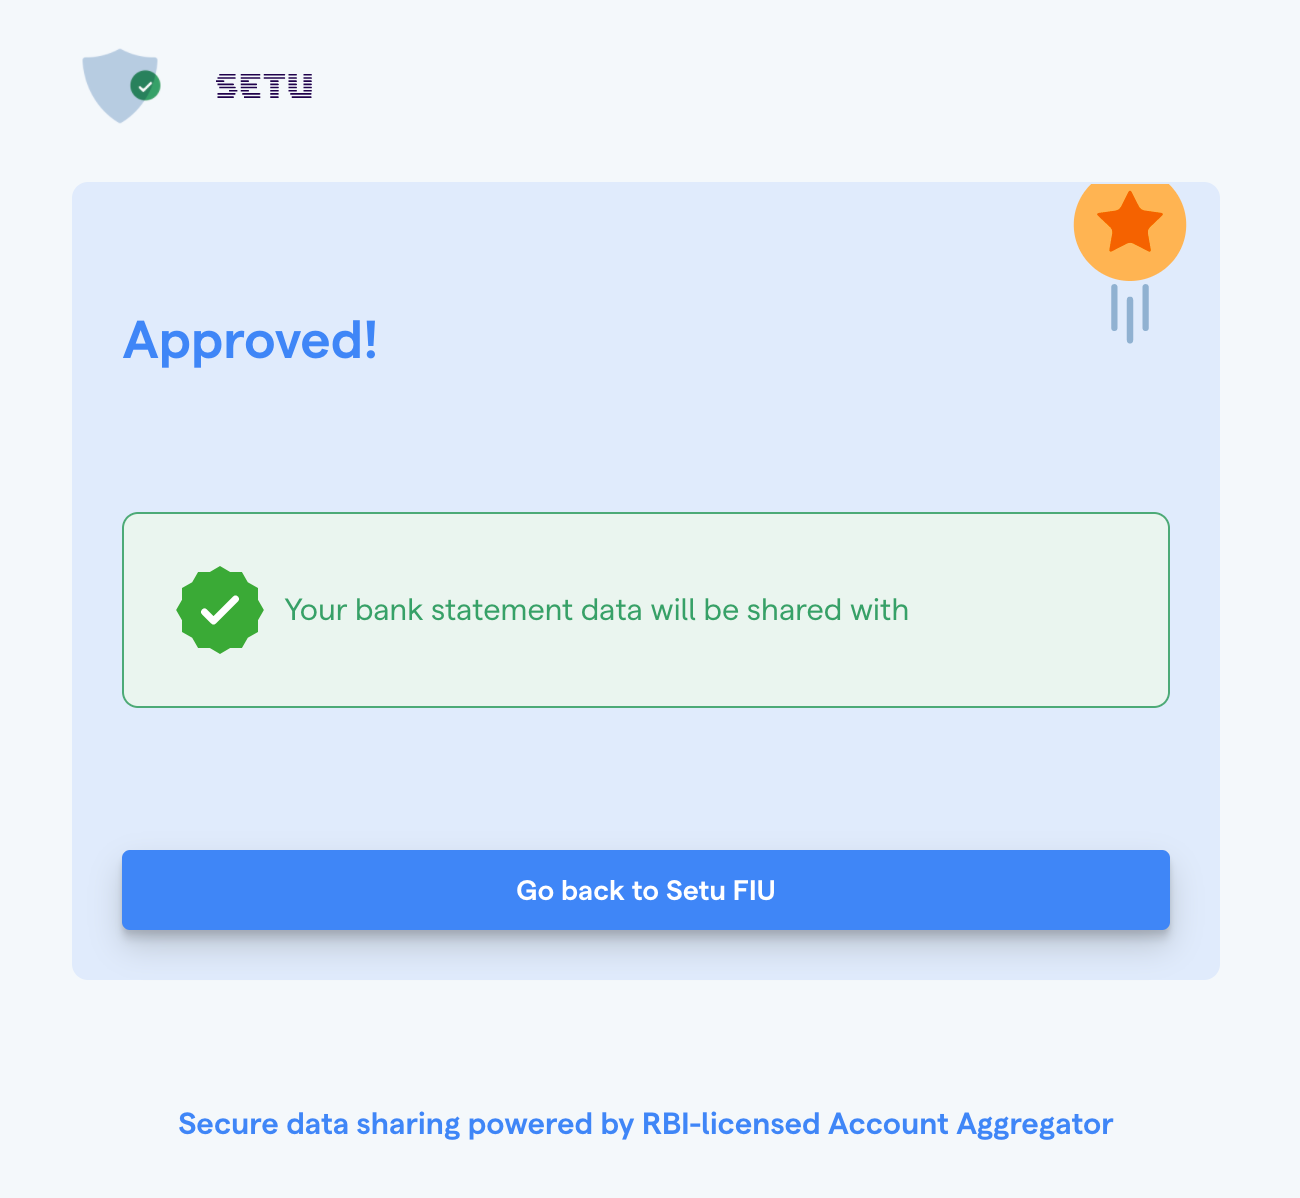
Redirect your customer to consent manager url received after Create Consent request. Once your customer has approved or rejected consent, this final screen in the consent manager will show a button that will redirect your customer to the redirectUrl provided by you in the Create consent API.
#React Native
For cross-platform apps built using React Native, Setu’s consent manager can be embedded into the app using a web view. This web view loads the consent manager inside your app.
Below are the steps to embed the consent manager into React Native app,
Implement a web view. Setu uses the WebView component from react-native-webview library. You’re free to choose any other library for implementing this.
Pass the consent manager URL into the
uriparameter on the WebView component. Ideally, this URL can be sent as a parameter from the previous screen to the WebView screen.WebView component exposes a function
onNavigationStateChangewhich is called every time there is a change in the navigation of web view.Use this function to check if the current navigation state URL of the web view is the same as the redirect URL you passed in consent manager URL. If yes, you can intercept that and change the screen from web view to a different screen in your app.
import React, { useRef } from "react";import { SafeAreaView, ActivityIndicator, StyleSheet } from "react-native";import WebView from "react-native-webview"; // Load WebView from "react-native-webview"export default function WebView({ navigation }) {const webviewRef = useRef(null);// Set the redirect URL used during consent creationconst redirect_url = "https://redirect.xyz";// Check if navigation state URL and redirect URL are the sameconst onNavigation = (navState) => {if (navState.url.includes(redirect_url)) {// If yes, change the navigation and take your customer to a new screen.navigation.navigate("Complete");}};return (<><SafeAreaView style={styles.flexContainer}><WebViewsource={{uri: "https://<fiu-base-url>/consents/webview/<consent-request-id>",}}startInLoadingState={true}renderLoading={() => (<ActivityIndicator color="black" size="large" style={styles.flexContainer} />)}ref={webviewRef}onNavigationStateChange={onNavigation}style={styles.margin}/></SafeAreaView></>);}// Stylesconst styles = StyleSheet.create({flexContainer: {flex: 1,},margin: {marginTop: 50,},});
Was this page helpful?