
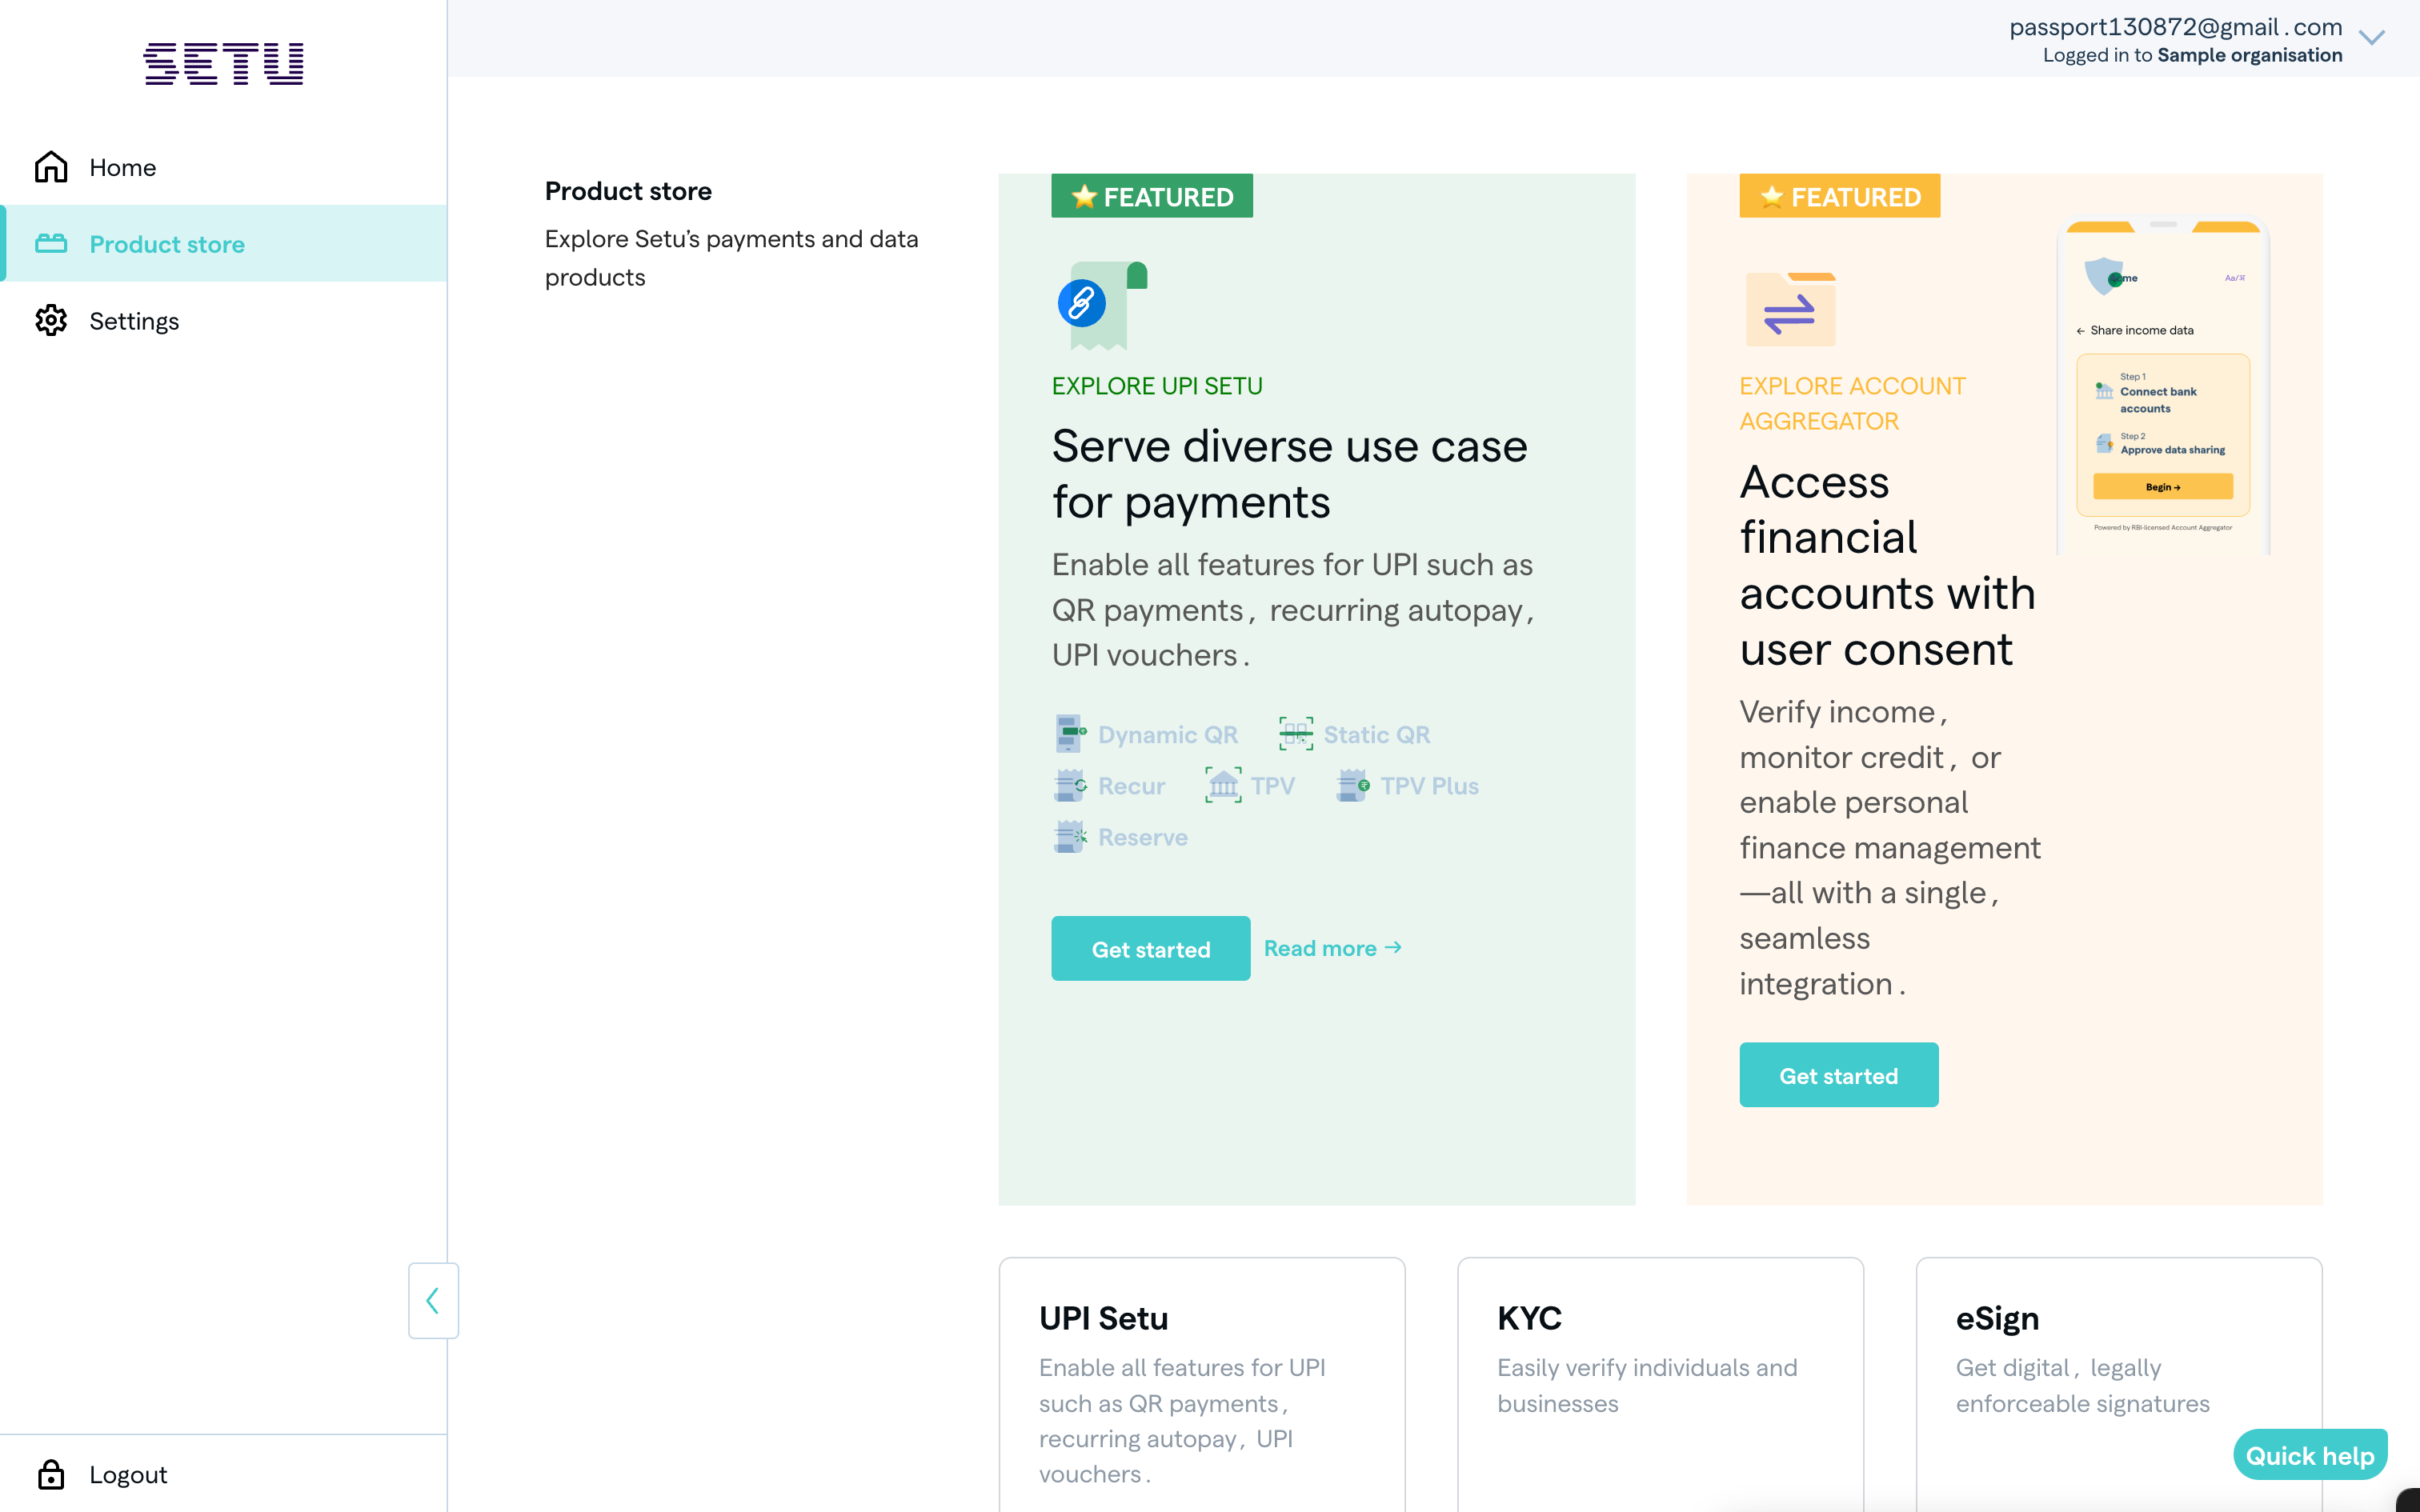
#Explore and configure products
Use Home or Product store to see all the products that you can configure with Setu. Select any one, and start setting up your product integration.
1. Create a child sub-org account
The first step is to set up a child sub-org account, which contains context about a product category and the organisation that can legally use this product. There are different types of legal entities allowed to use different product categories. For example, you will set up an FIU to use Account Aggregator, or set up a merchant to use UPI products.
While this is rarely needed, you can also create multiple child sub-org accounts for the same product category. This is useful in the following situations:
- If you want to use the same product category for another subsidiary of your parent company, for which fresh KYC is needed.
- If you want to use the same product category but for a different purpose, which results in a change in pricing or other agreements.
Consider creating another product instance for your chosen product before creating a new child sub-org account. This approach helps in easily reusing KYC and other common product details, and it results in a faster review process for the new instance to go live.
2. Set up product instance
Depending on the product you choose, you need to fill in different details to start using the product. At times, our products also allow you to directly use the APIs for our products, by generating test credentials and using the “Product ID” in the product-instance-id header field.
Usually, the details you need to fill out for a product instance include the following categories:
Basic details — Basic details required for testing, used on sandbox with test API keys and product ID to authenticate API requests.
Production specific details — Additional details needed, only if you intend to go live with the product. These additional details are used in combination with the basic details used on sandbox, when you eventually go live with the product.
KYC details — Mandatory details as per government regulations, needed and reviewed by Setu only if you intend to go live with a product. These might include PAN, GST, certificates, and other relevant information.
3. Submit all the details
Finally, check and verify all the details you have provided, and submit them. A Setu admin will verify all details and if everything looks good, approve your config. This typically takes 2-5 days and you can start transacting on production after approval.
4. Edit configurations
You can change the configuration provided before you complete the final step of any configuration, which is reviewing the details you have provided. Once you click on the "submit to go live" button, you will not be able to change the details you have provided for the product. The details will first be reviewed by Setu. Once the review is complete, and if any changes are required, you will be able to edit the steps that remain or require changes.

Was this page helpful?